


Your cart is currently empty!.
You may check out all the available products and buy some in the shop.
Continue Shopping
A goldmine for sim racers who love DIY

Excellent pack, great sticker sheet included.
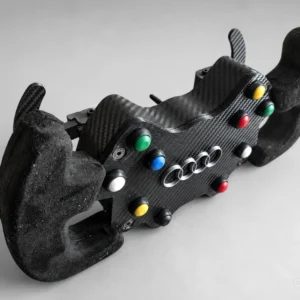
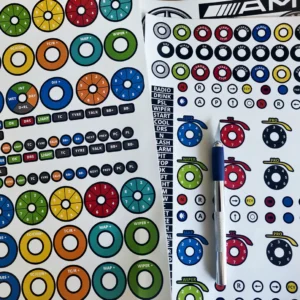
I have already finished building the Porsche 911 GT3 wheel. The included printable sticker pack is a lifesaver and adds a super clean, factory finish to the button plate.

As a maker who loves premium materials, I used the STEP files with CNC Machine. The accuracy of the mounting holes for the encoders and button layouts is completely spot on. If you like high-quality DIY sim hardware, this pack is a must-have.

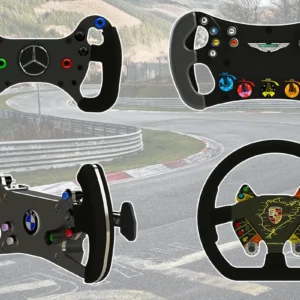
For $45, getting 6 steering wheel designs is an absolute steal. The model ergonomics are perfect and they feel incredibly immersive when driving.

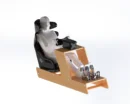
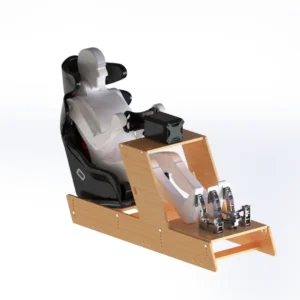
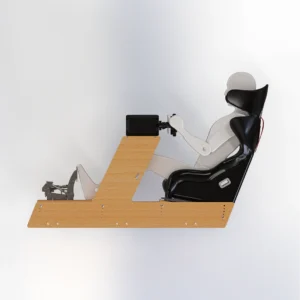
I’ve already built the Premium Wood Rig, the new Hydraulic Pedals, and the Aston Martin GTE wheel. The CAD data is incredibly clean and organized. The value is crazy, under $10 per project.

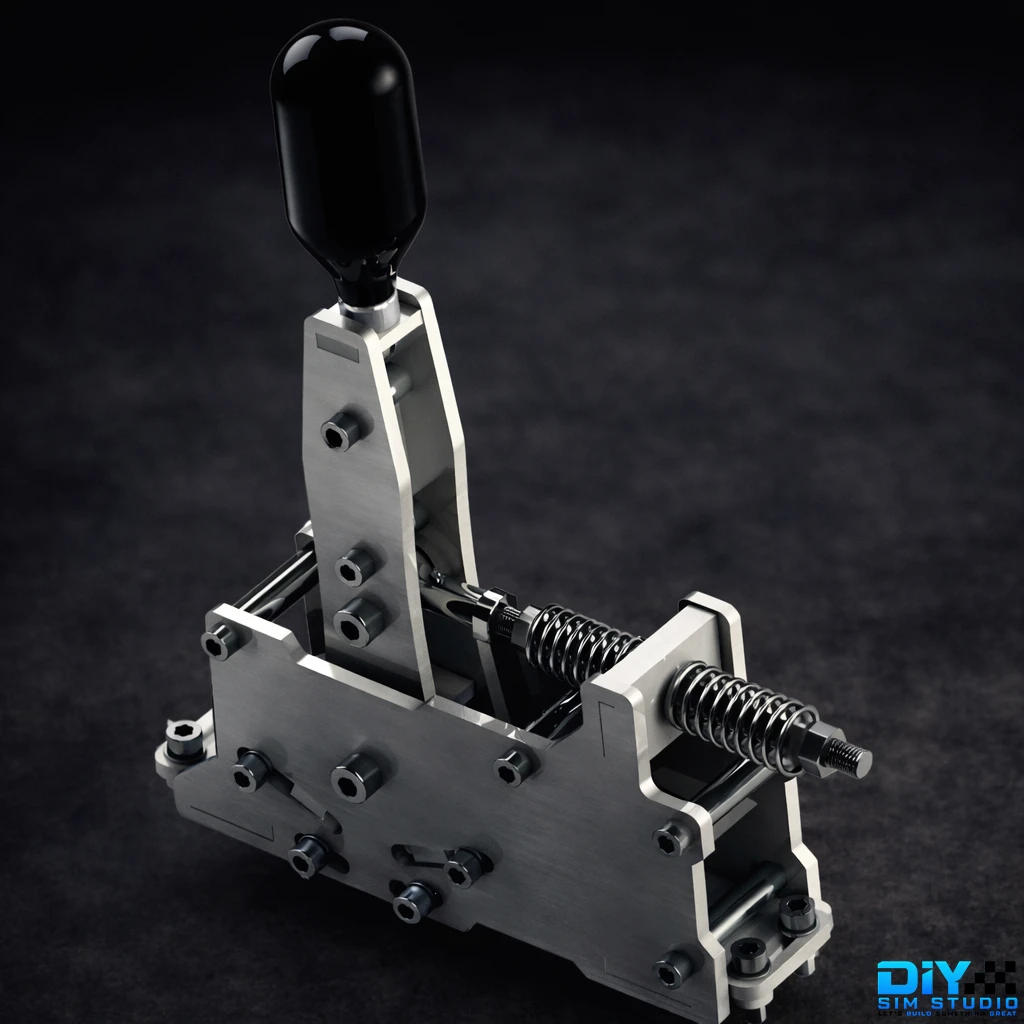
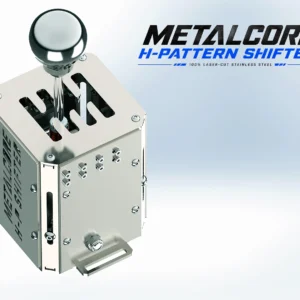
As a mechanical engineer, I am highly impressed by the quality of the STEP and DXF files. Everything is properly constrained. I am currently machining the Sequential Shifter out of steel and 3D printing the Mercedes AMG wheel enclosure. Highly recommended for makers and beginners alike.

Easy to assemble, inexpensive, very attractive design, and fits perfectly in a bedroom.

Used the files to have the pieces cut at a local maker space. Assembly was a breeze thanks to the 3D animated video, it literally felt like putting together furniture. Zero flex with my Fanatec Podium wheel. For the price of the plans, you can't go wrong.

I needed a compact rig that wouldn't take over my entire living room. These basic plans were exactly what I was looking for. I printed the A2 templates and cut everything out of 18mm MDF using a simple jigsaw. The layout is very ergonomic and it fits perfectly under my desk when I'm not racing.


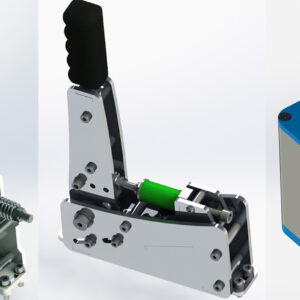


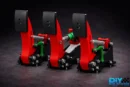

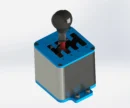

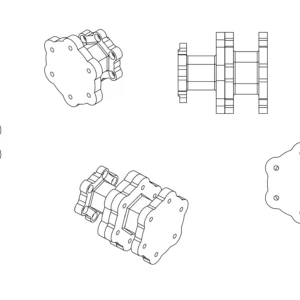
Here I will explain to you how to make a DIY Sequential Shifter. It will be quite easy and quick to do. This sim…
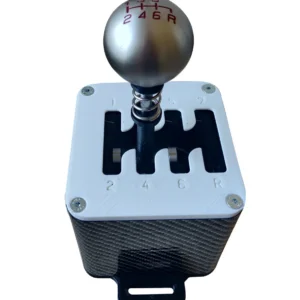
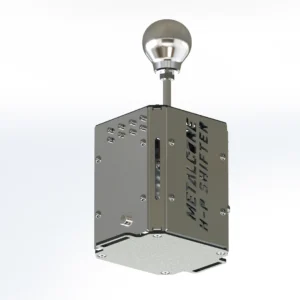
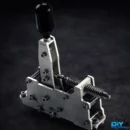
In this tutorial, I will show you how to make an awesome DIY H Shifter for Sim Racing. This 3D Printed H Shifter has…
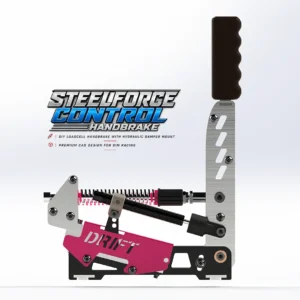
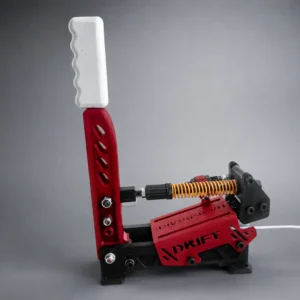
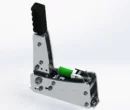
Here I will explain to you how to make a DIY Sim Handbrake. This DIY Handbrake is easy to build, has a strong structure, stable and smooth mechanism.…
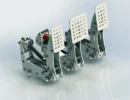
Would you like to make your own DIY Load Cell Pedals for your Sim Racing Setup ? You are in the right place ;).…
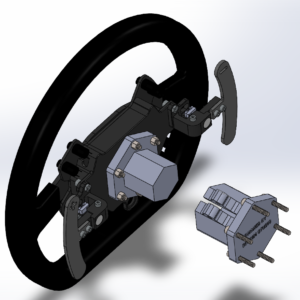
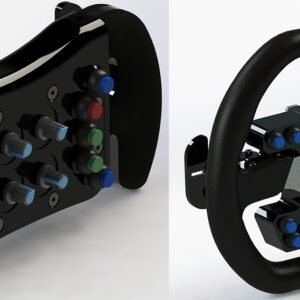
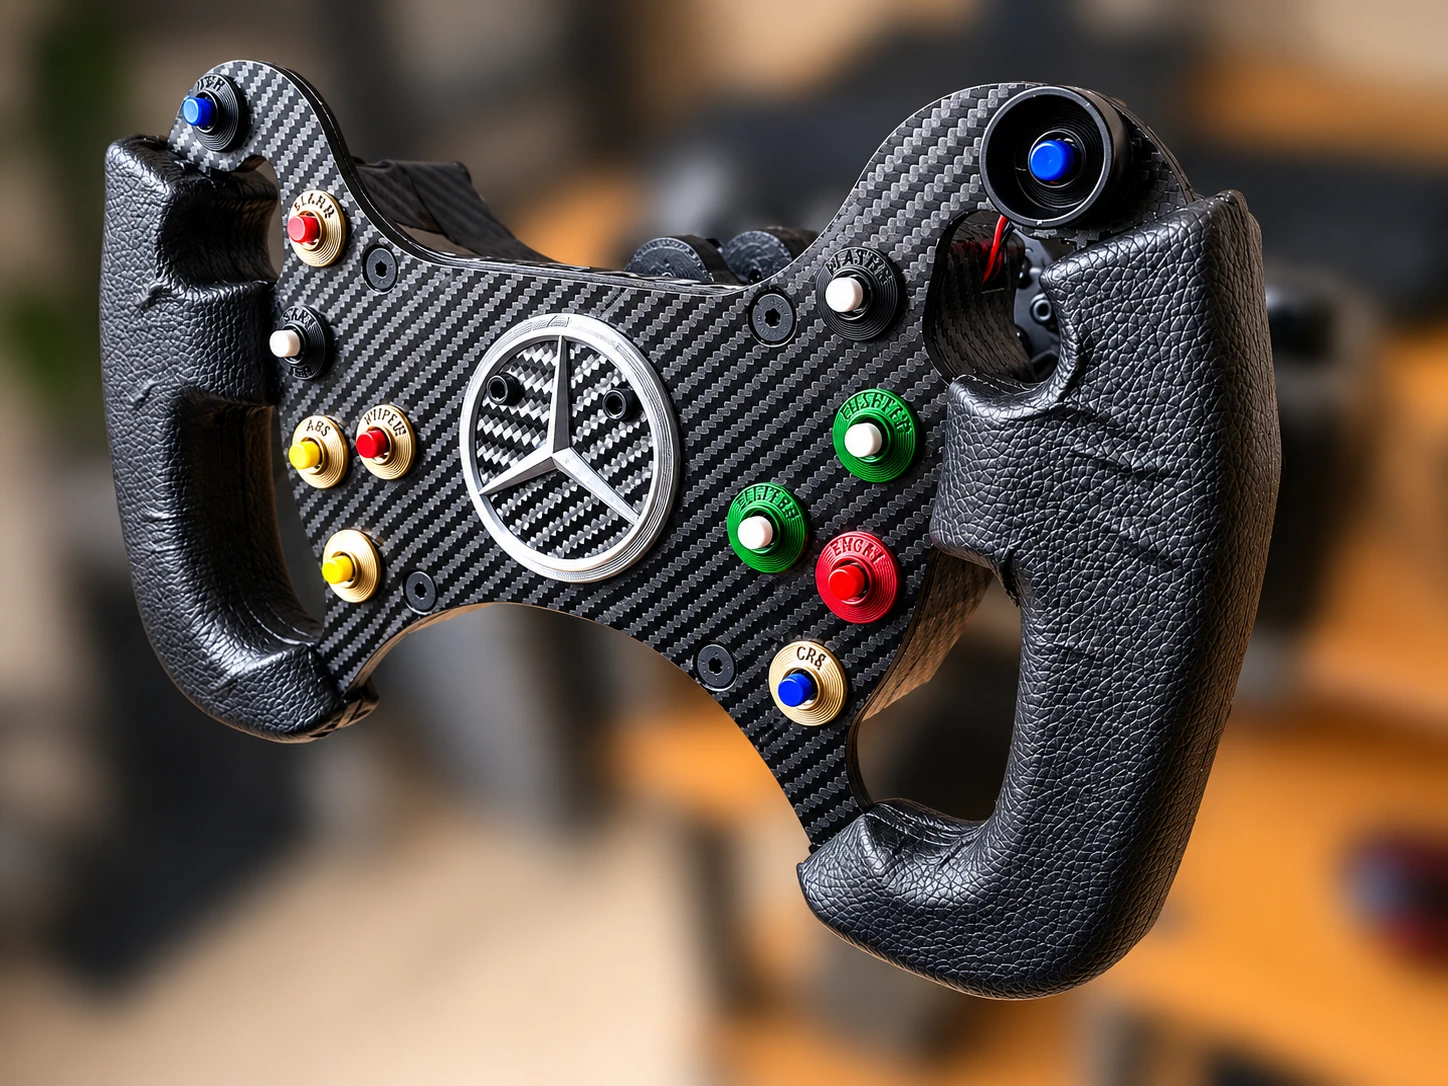
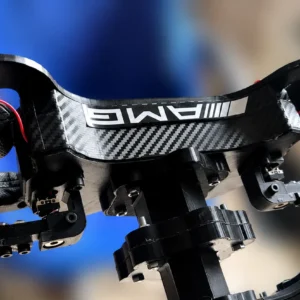
In this tutorial, I will explain step by step how to make a replica of the DIY AMG Steering Wheel Replica using the plans…
Introduction Sim racing has exploded in popularity, with more enthusiasts building immersive setups right from home. While pre-built rigs can be expensive, many racers…
Sim Racing continues to gain traction and introduce players to some fast-paced, high-speed action. Before you take your racing game to the next level,…
You have a small budget and are looking for a cheap PC for sim racing ? You’ve come to the right place. In this…
I’m going to introduce you to treatstock, which is a 3D Printing Services for Hobbyists. If you don’t have a 3D printer, this cheap…
Choosing the right 3D printer for your DIY Sim Racing projects can be daunting with the vast array of options available on the market.…
I am going to compare the top 2025 sim rigs. Best rigs for beginners and pros, including affordable and high-end options, best budget sim…
Why I suck at Sim Racing ? I often hear drivers complaining about not being good enough at sim racing, so I’ll try to…
in stock
In stock
Original price was: 379.83€.97.00€Current price is: 97.00€.
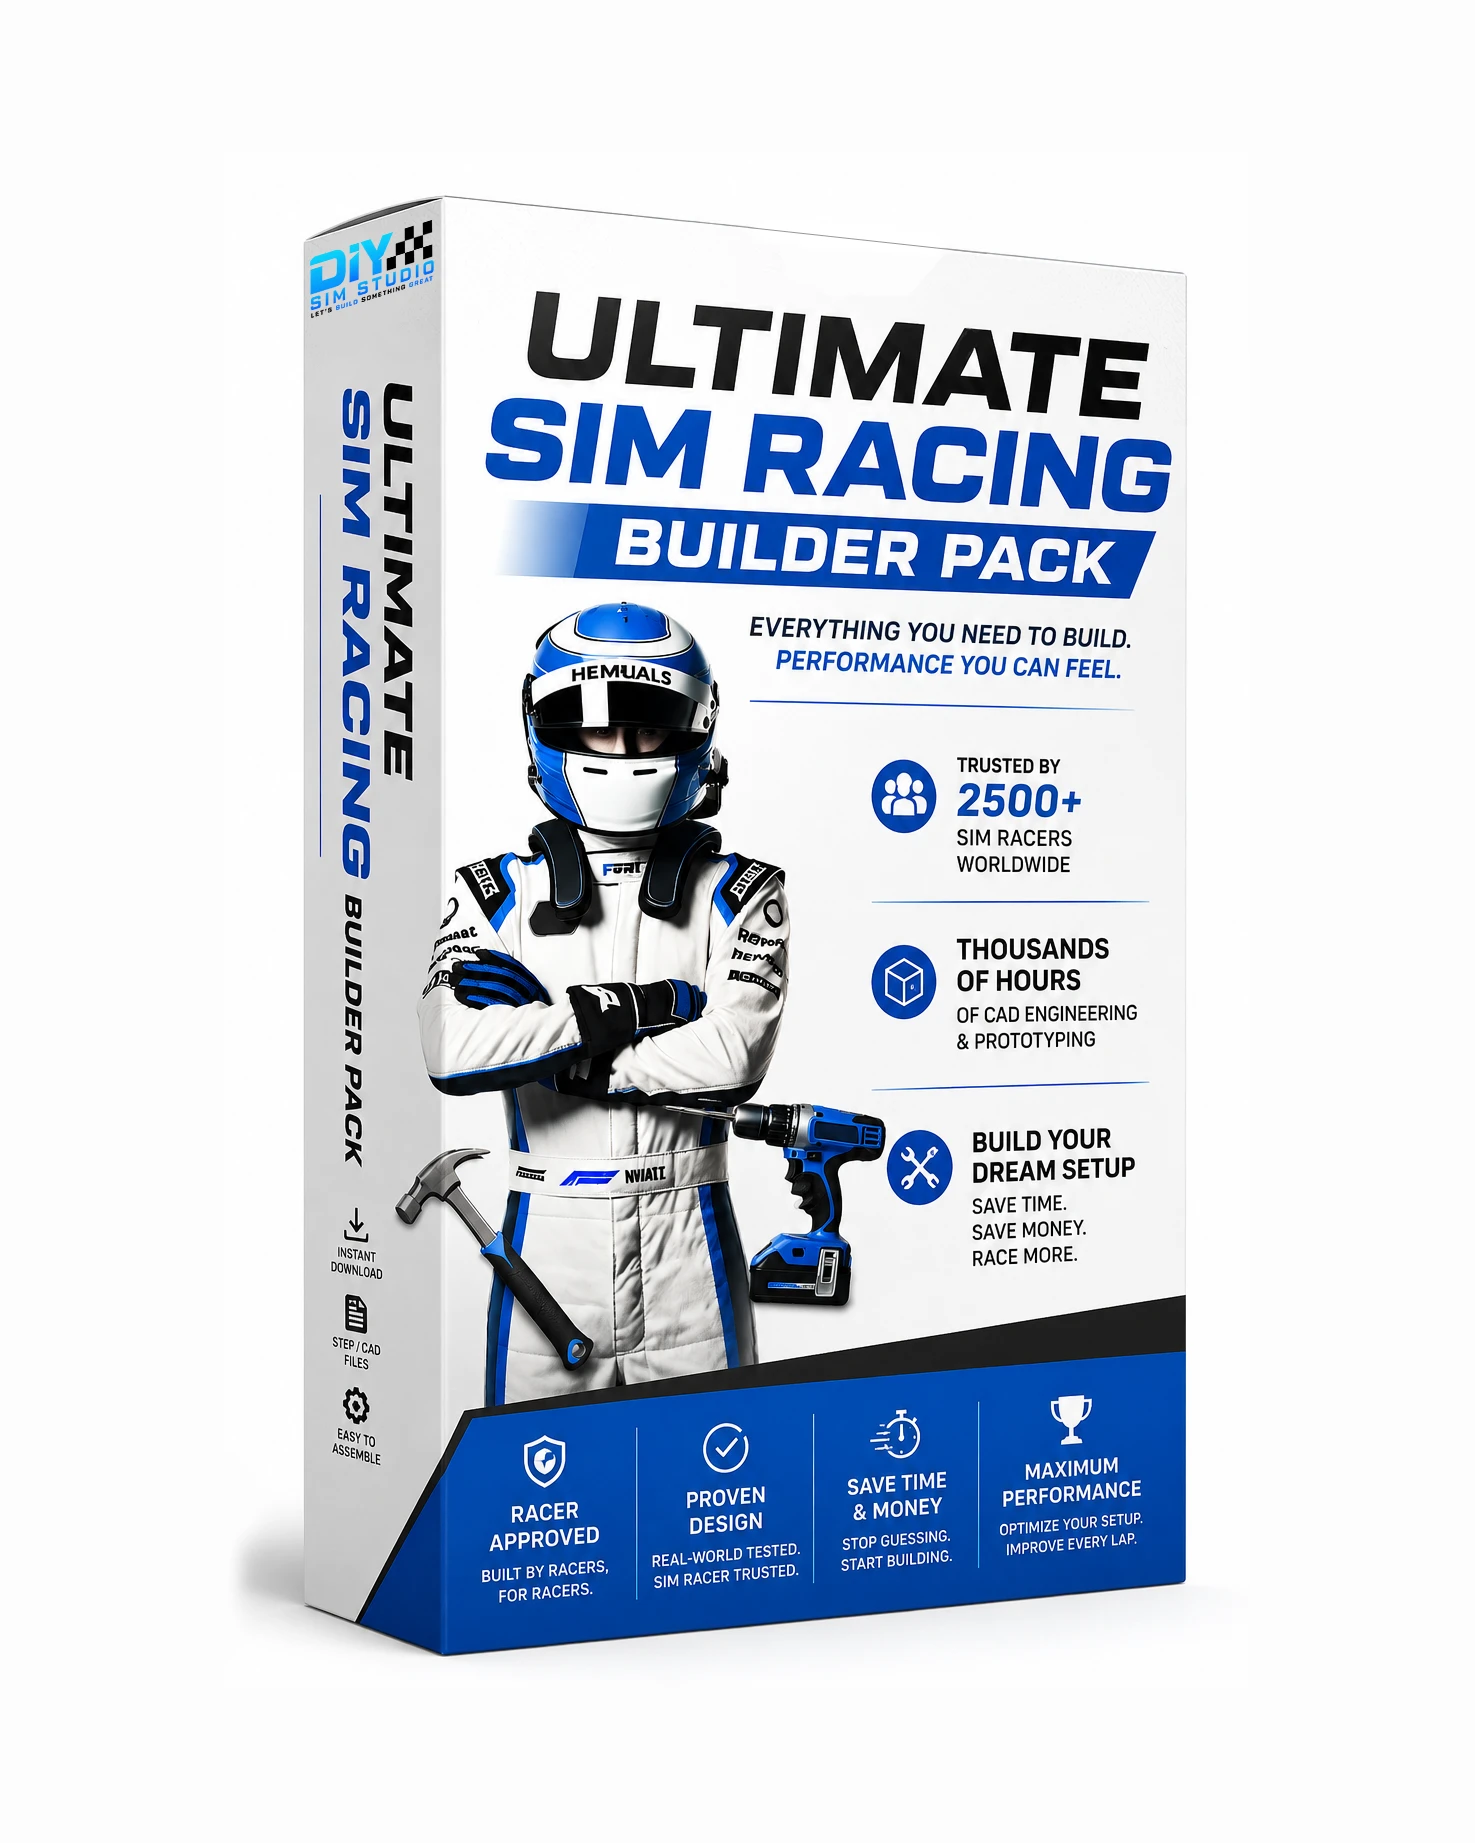
Get instant access to all current DIY Sim Studio projects, including our famous pedals, steering wheels, handbrakes, full sim rigs, and all shifters.
This pack represents years of prototyping, CAD engineering, testing, and feedback from thousands of builders worldwide. Accessible in a single download.
Get the FULL collection for only 97€ instead of buying individually. That’s +17 premium projects for less than $10 each.
This is a one-time payment to unlock all of DIY Sim Studio's current work, with lifetime access. If you are a DIY enthusiast looking to save money, this pack is for you!
The best proof of our quality is in our customers' hands. Head over to the Community Builds page to see hundreds of successful projects built using these exact CAD files.


in stock
In stock
49.99€
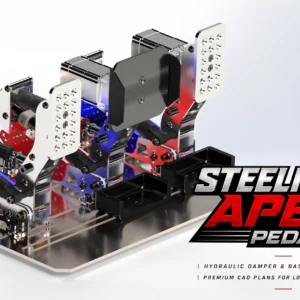
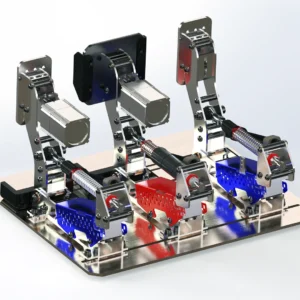
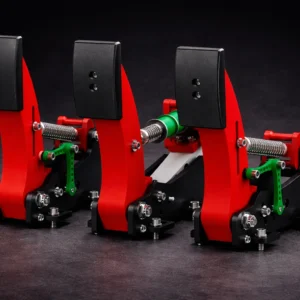
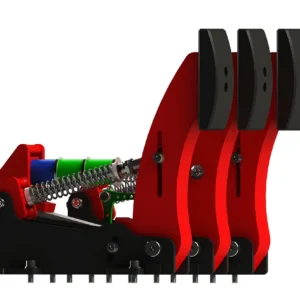
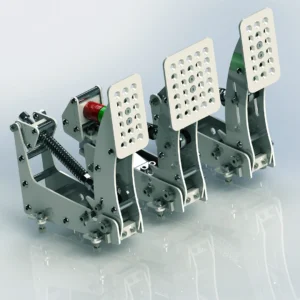
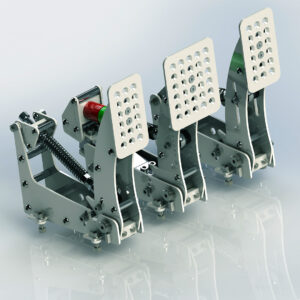
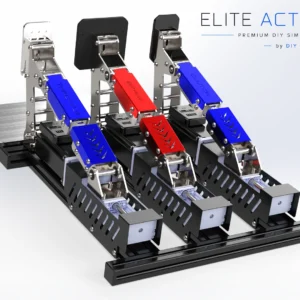
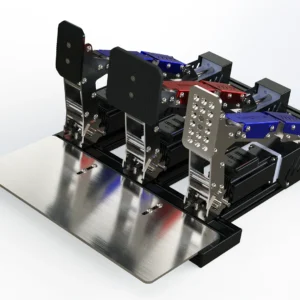
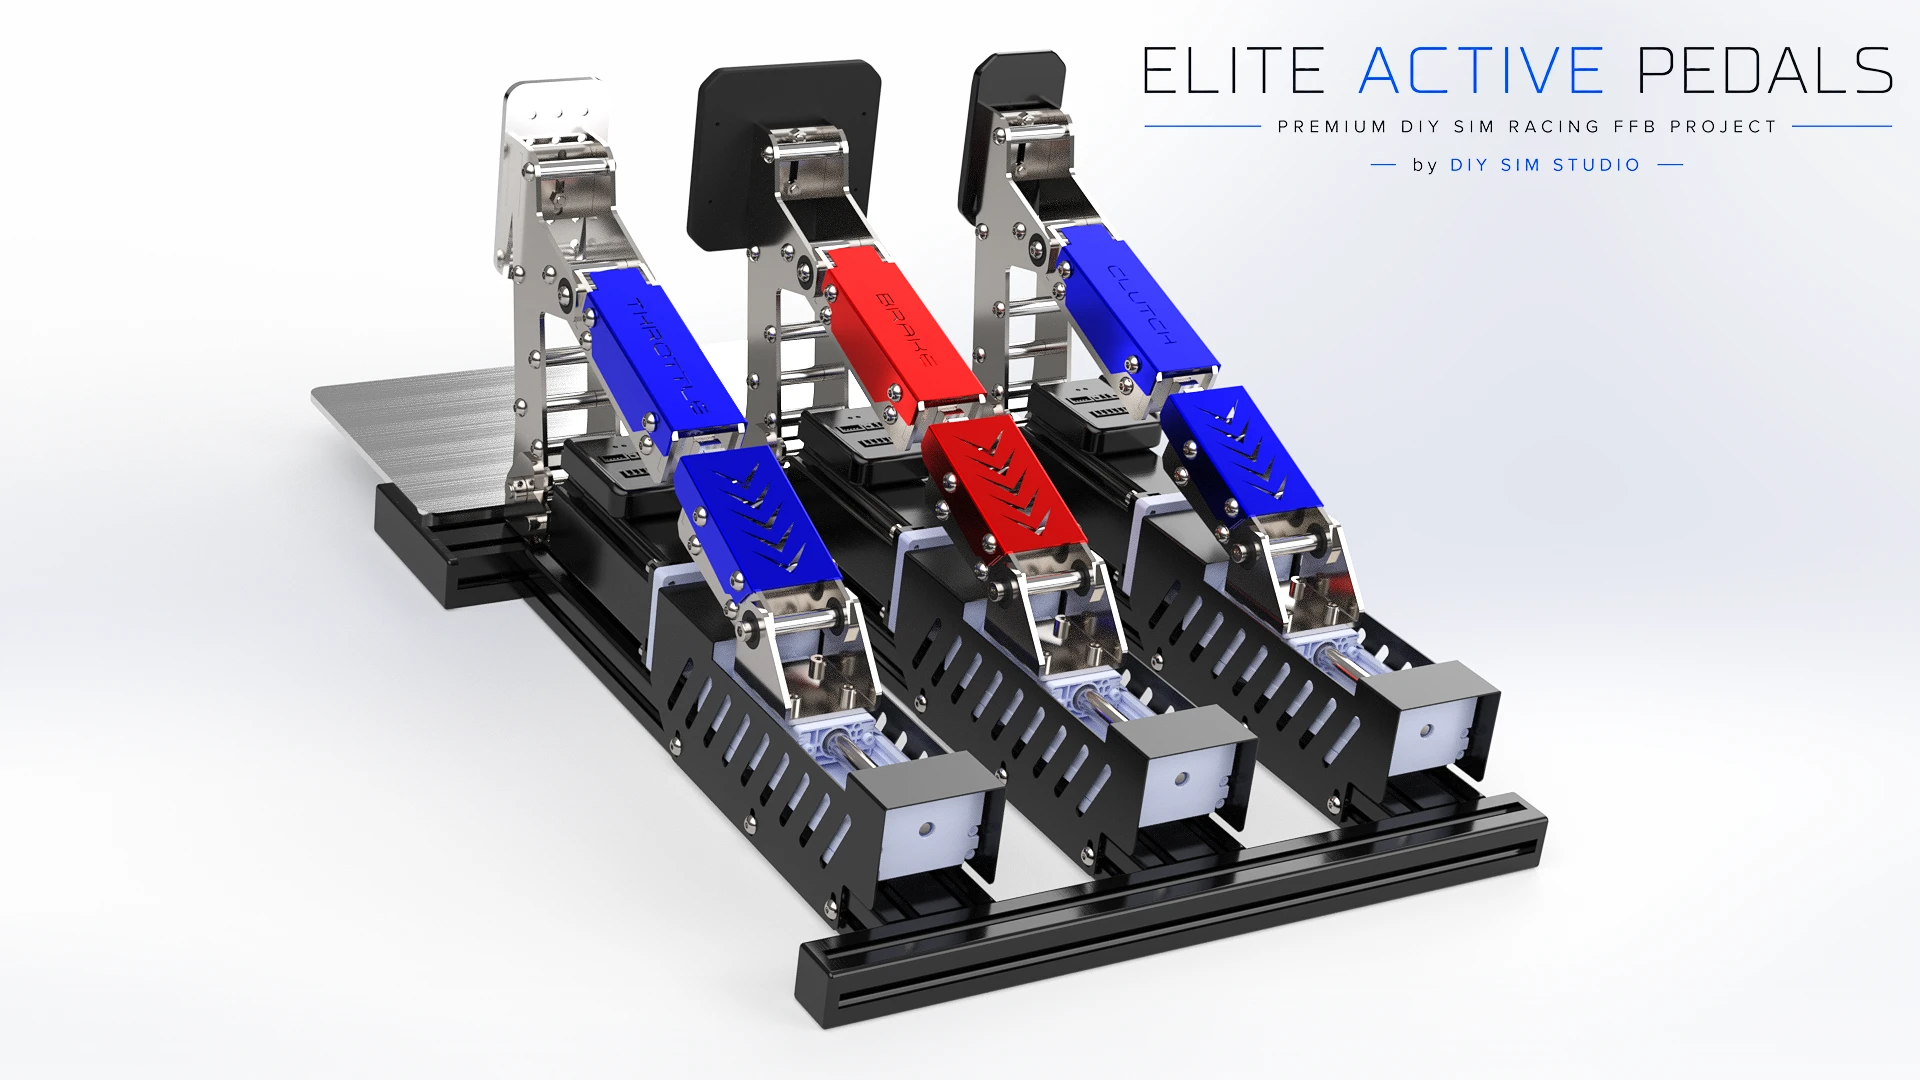
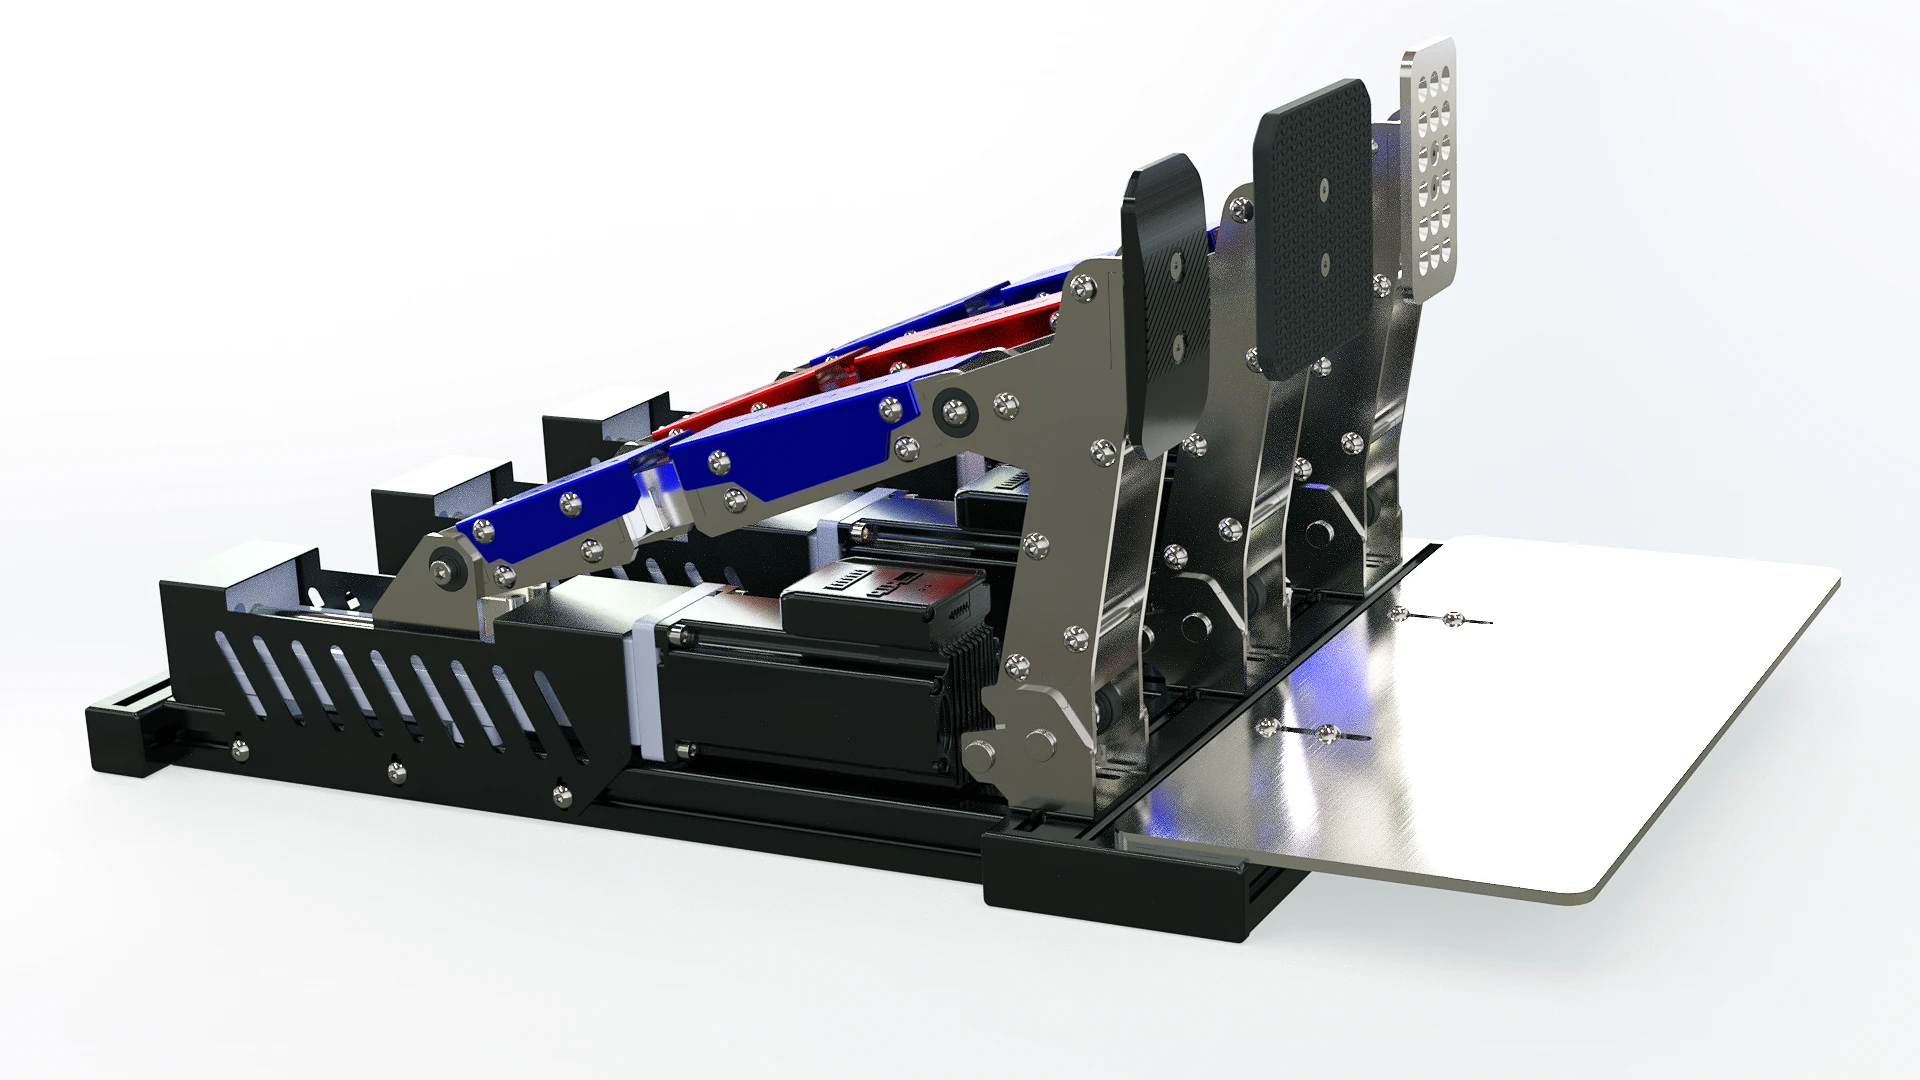
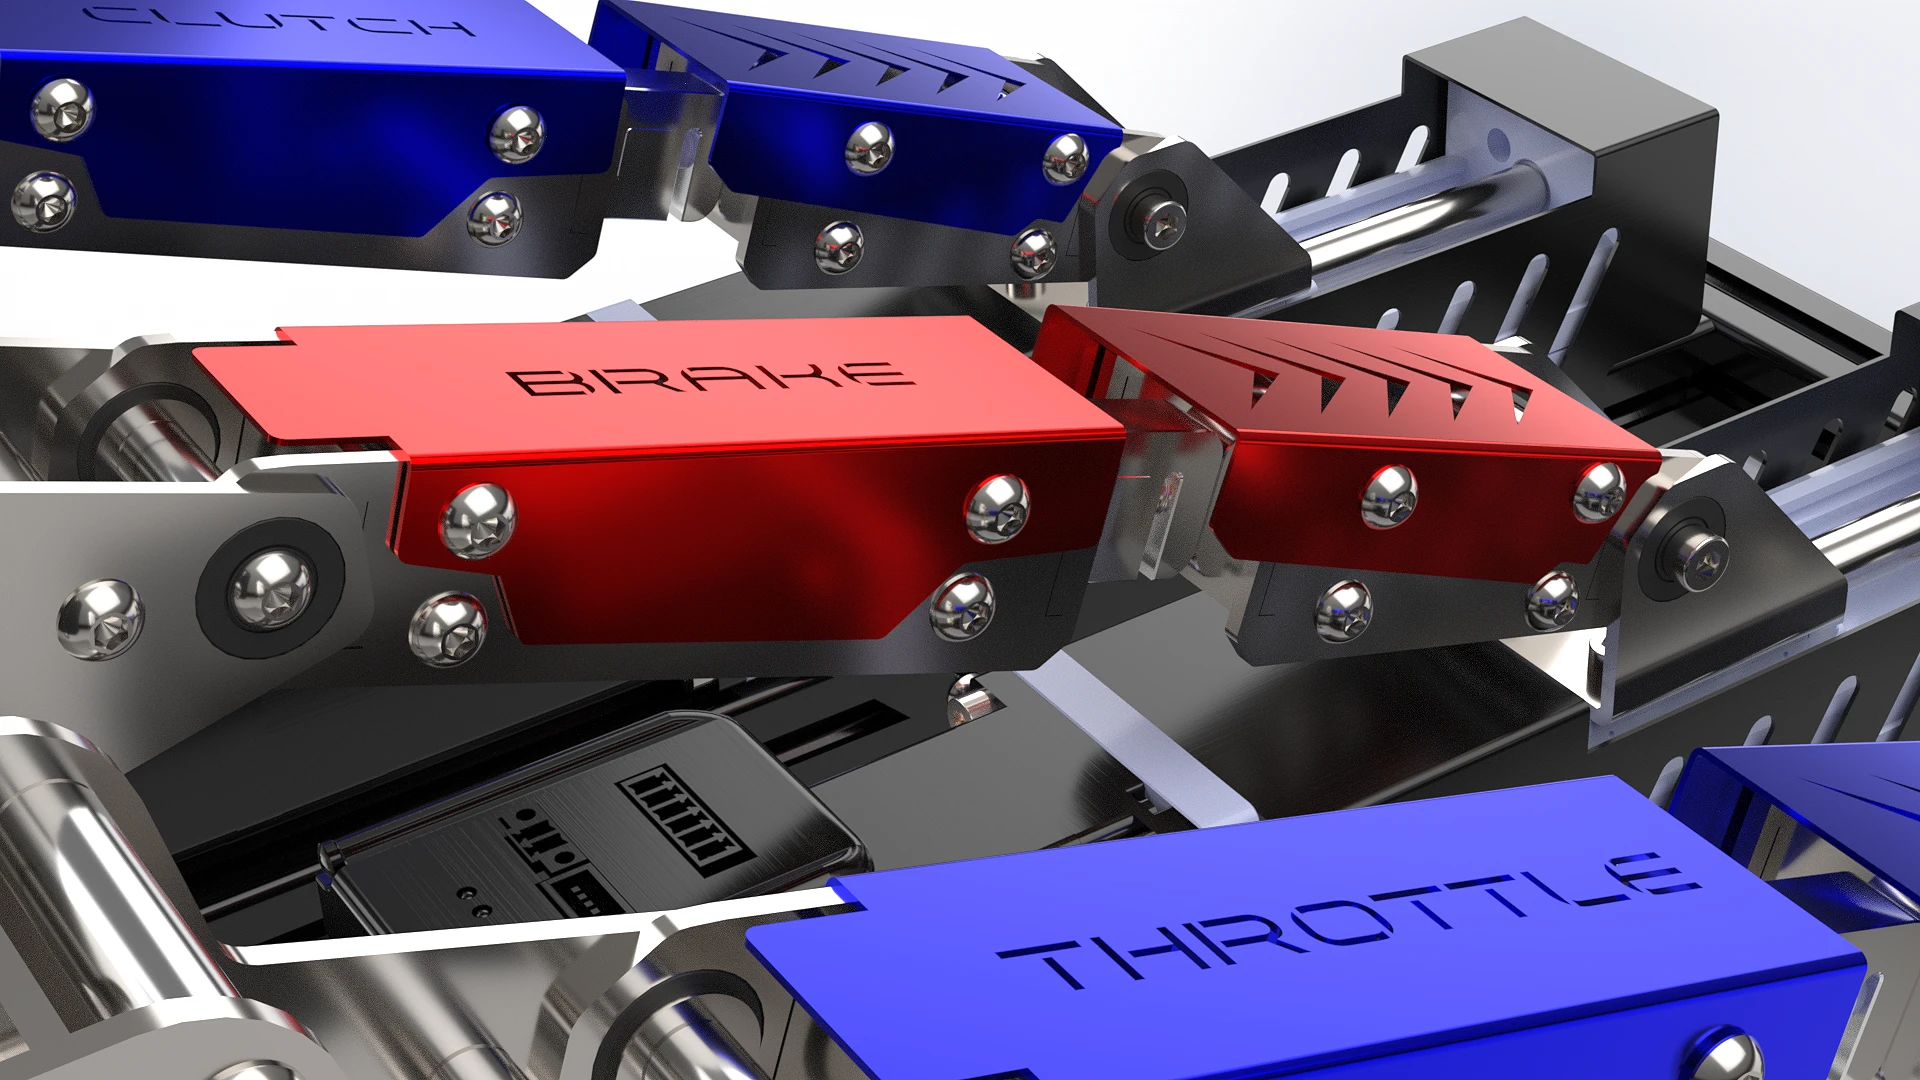
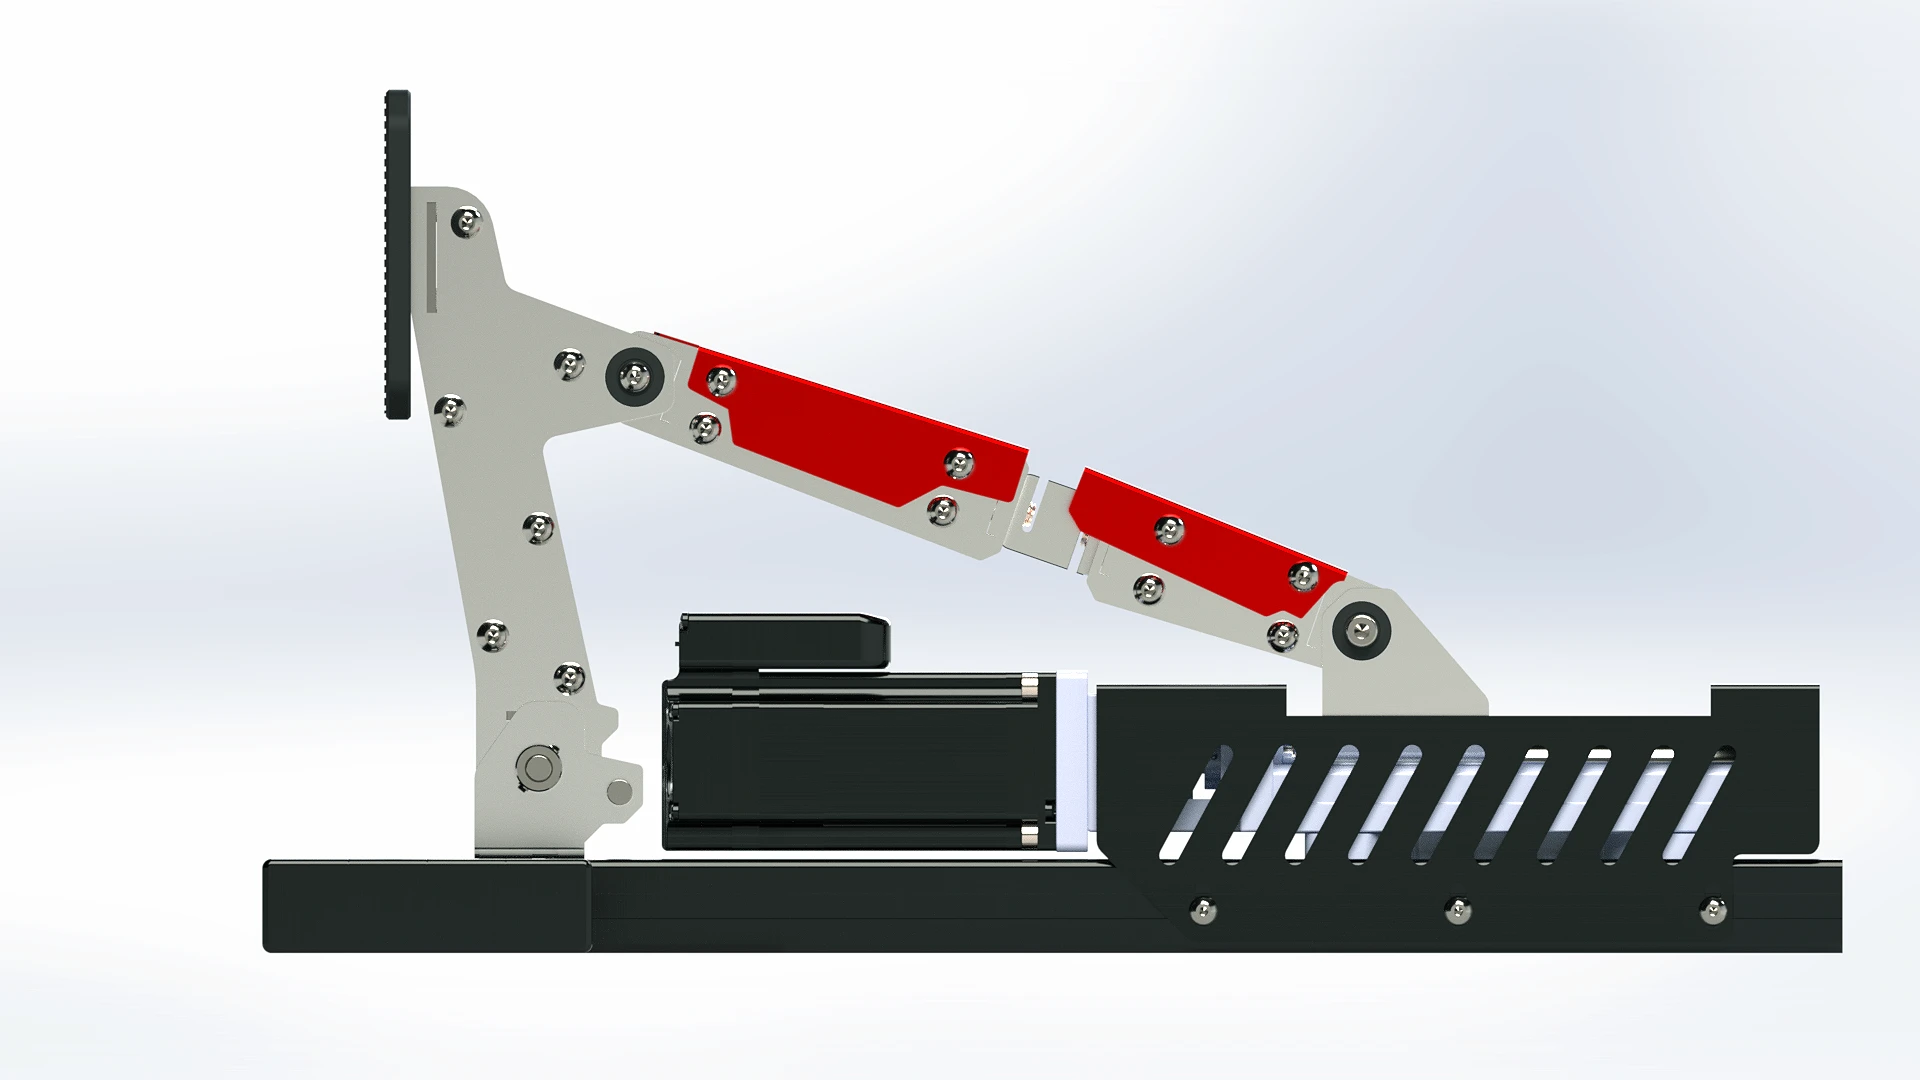
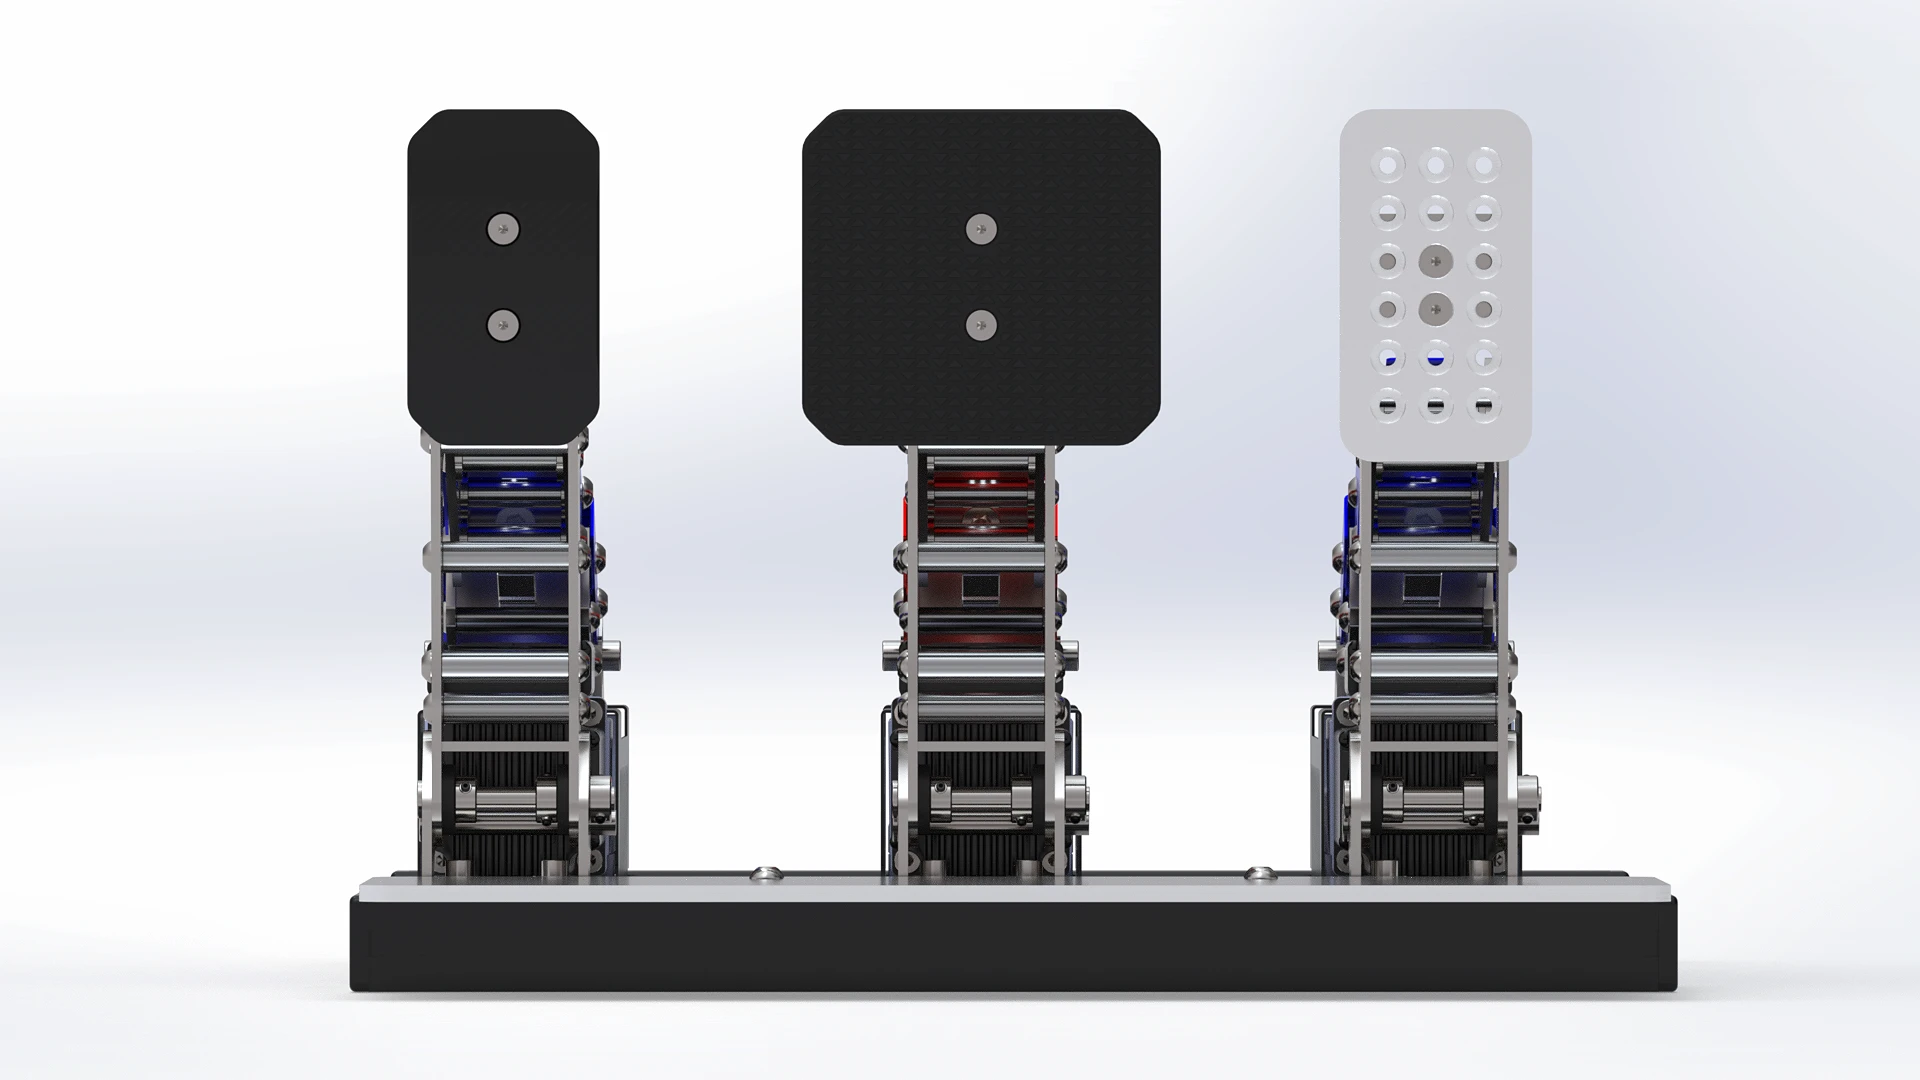
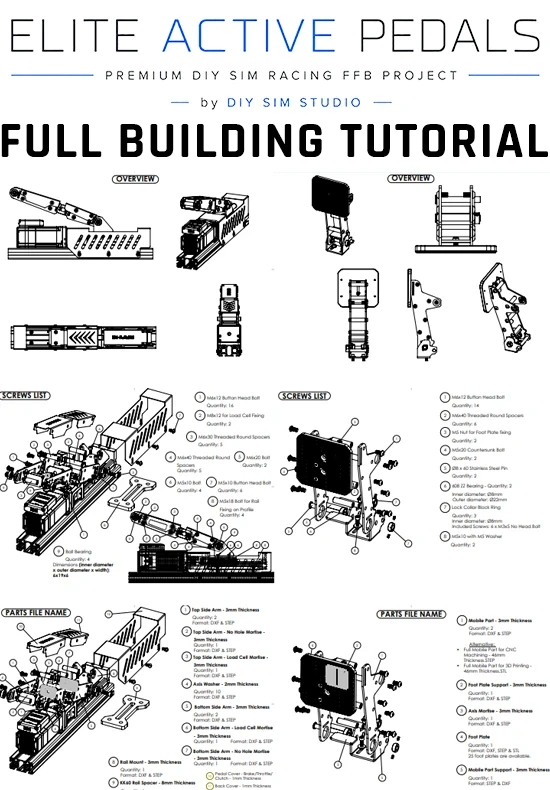
Build your own DIY Active Pedals using a professionally engineered mechanical design.
The Elite Active Pedals project has been developed for sim racers who want to build a professional-grade Force Feedback Pedal set without spending thousands on commercial solutions. Unlike most DIY projects, Elite Active Pedals combines industrial-grade mechanics, premium aesthetics, rock-solid and modular construction, making it easy to adapt to your preferred hardware.
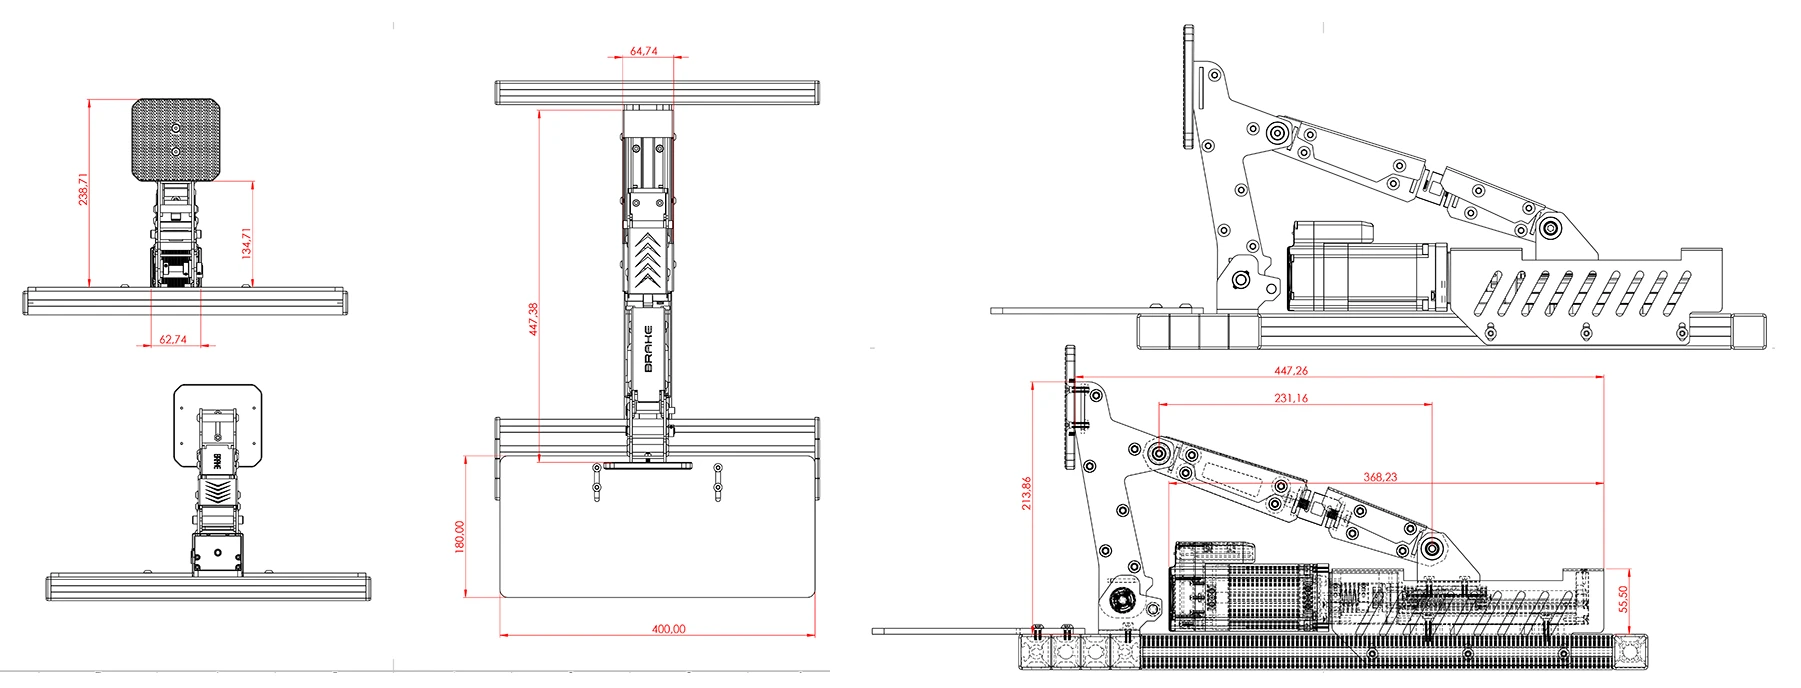
This package focuses exclusively on the mechanical design.
It does not include:
Numerous DIY Active Pedal projects are available online to complete the electronics portion of your build.